

HAPPY NEW YEAR ALL!!!!
I am excited to be getting back into the swing of things for 2011
with the SCRAPTIVATE design team. I have a absolute swag of ideas bussling round my head and at last count 8 half finished projects I badly want to finish (shhh cant wait till the kids go back to school! LOL)
but for now I have just a little share here for you ...

PRODUCTS: SCRAPWARE 6x6 shadow box, Pink Paisley Hocus Pocus PP, German scrap, Lumiere paint, Radiant rain misters, Plaid dimentional magic, Angelina film, Dymo label, Ranger alcohol ink, foam core board and foam double sided tape, Express it doublesided tape, Metallic lace and beads.


FEATURES, TIPS AND/OR TECHNIQUES :
German scrap is lightly covered in LUMIERE gold paint left for a couple seconds then roughly wiped off with a soft cloth. (or with fingers in my case cause I just lurve to get paint on me! LOL)
The centre flower is made with a EK sucess? "whale of a punch" flower punch and a weetbix box! I handcut the large flower from plain chipboard and the molten metalic finish on it was created with a thick layer of Lumiere paint and a heat gun. The heat gun is held extra close to the paint while drying it forming blisters or bubbles in the paint to create the texture.
Changing the colour of dymo label is a little fiddly but easy to do as I have here for the quote text. This Dymo tape was the black plastic glossy type, I gave it a sand with an emeryboard and then painted it with Lumiere paint. Once the paint was dry I loaded a cue tip with Gold alcohol ink and wiped it over each letter.
Heres a work in progress shot of the SCRAPWARE shadow box going together. As I didnt want the patterned paper to cover the whole box I painted the sides and used foam core board wedges to strengthen the box structure and add gluing surfaces without adding weight. A lovely lady shared her wisdom with me giving me a tip with on putting these togther using layers of paper like paper mache or using a layer of printed tissue paper. Using both works and looks a treat. SCRAPTIVATE has some gorgeous TIM HOLTZ TISSUE TAPE. I have seen it but havent had a chance to use it as yet (hint hint! LOL) but I have been told that a roll stretches to last quite a few projects and is great value for money. Click HERE to see the range available at Scraptivate

Oh and I may have mentioned recently I was lucky enough to score a wonderous Cuttlebug
from the SCRAPTIVATE store to help me use my embossing folders abit better! LOL Its tough to use embossing folders without one and apparently quite funny to have a stash of folders without one! Anyway the bug and I are getting to know each other and can whip up a bit of a mess when we cant stop. :)
I am experimenting to see just how many different ways I can use this little gem but stay tuned I hope to be back here soon to share some radical ideas on how to get the bug for using your cuttlebug!

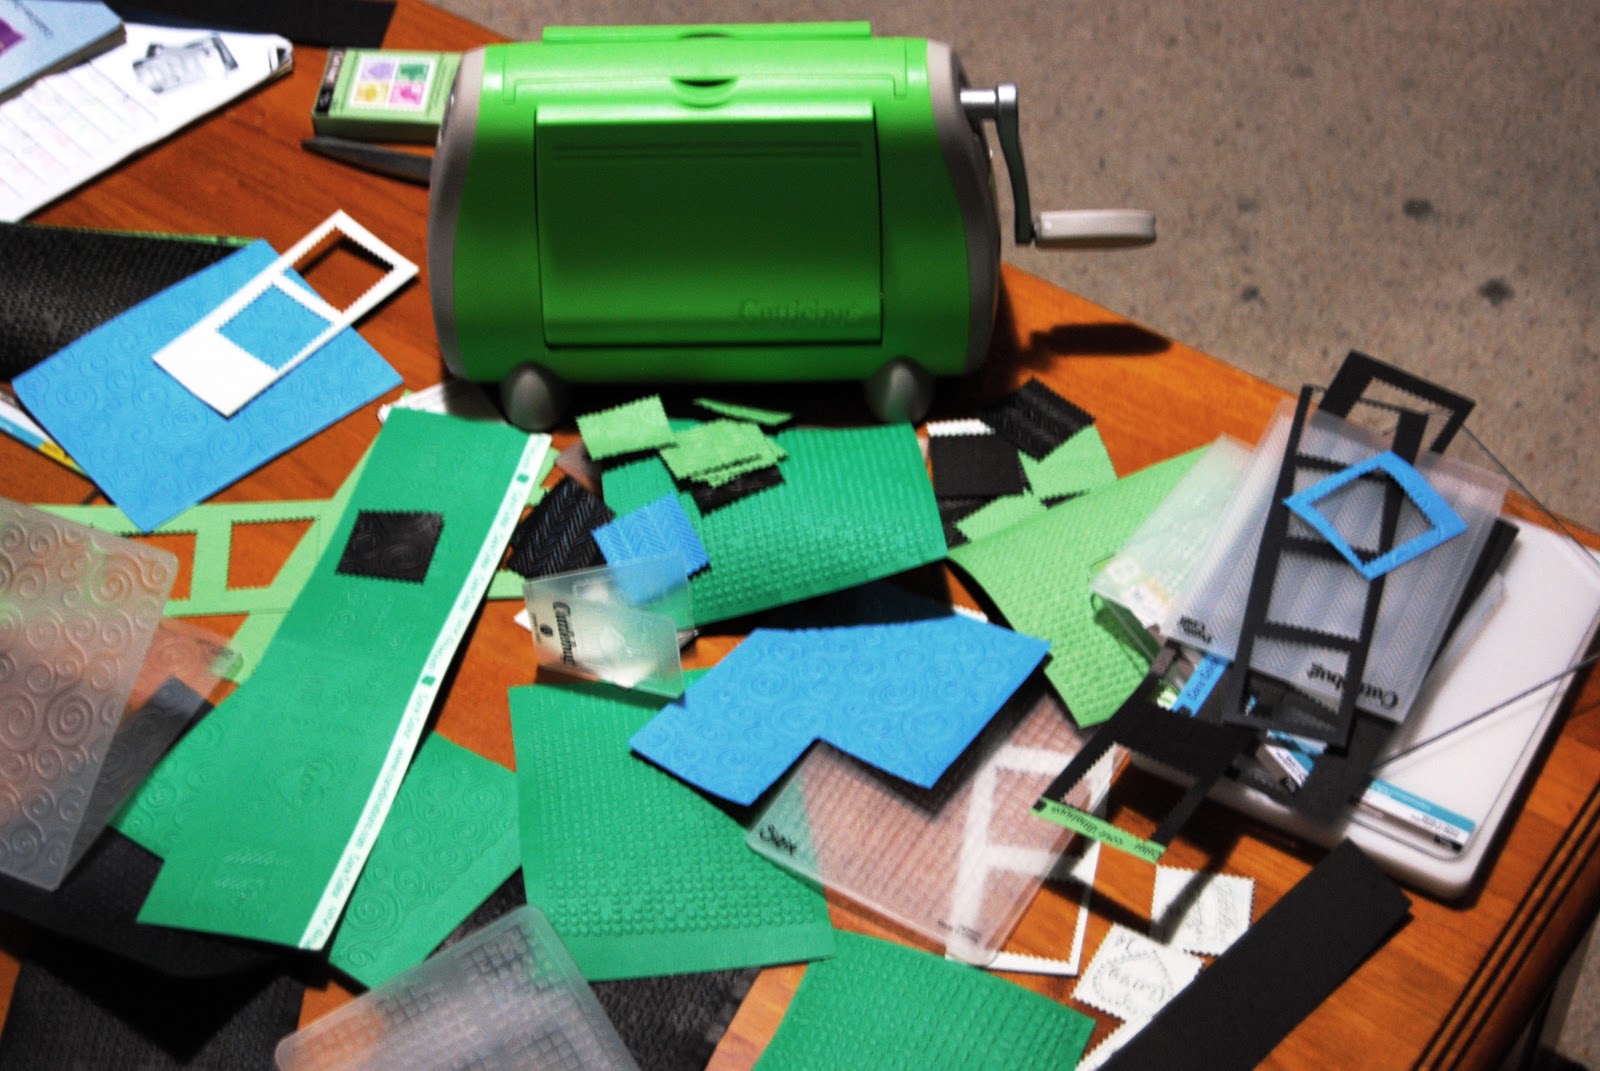
Heres a couple cards I whipped up using the cuttlebugs embossing folders
The first one below I used the swirly embossing folder to create a raised swirly pattern on my paper. Then wiped an embossing ink pad over the top of the raised pattern, sprinkled on embossing powder, tapped off the excess and melted the powder with a heat gun. I used those amazing juicy acrylic LUMIERE paints for the background. These paints totally rock and the gold and silvers come in a range of tints and shades so theres a gold for every occassion! LOL Oh just one more little tidbit ...the centre button on the flower was metalic silver and black ( and cost $1.80 EKKK! beware of quilters shop buttons gorgeous but pricey! LOL) but I coloured it with green and gold JW METALLIC WAX and it looked awesome.

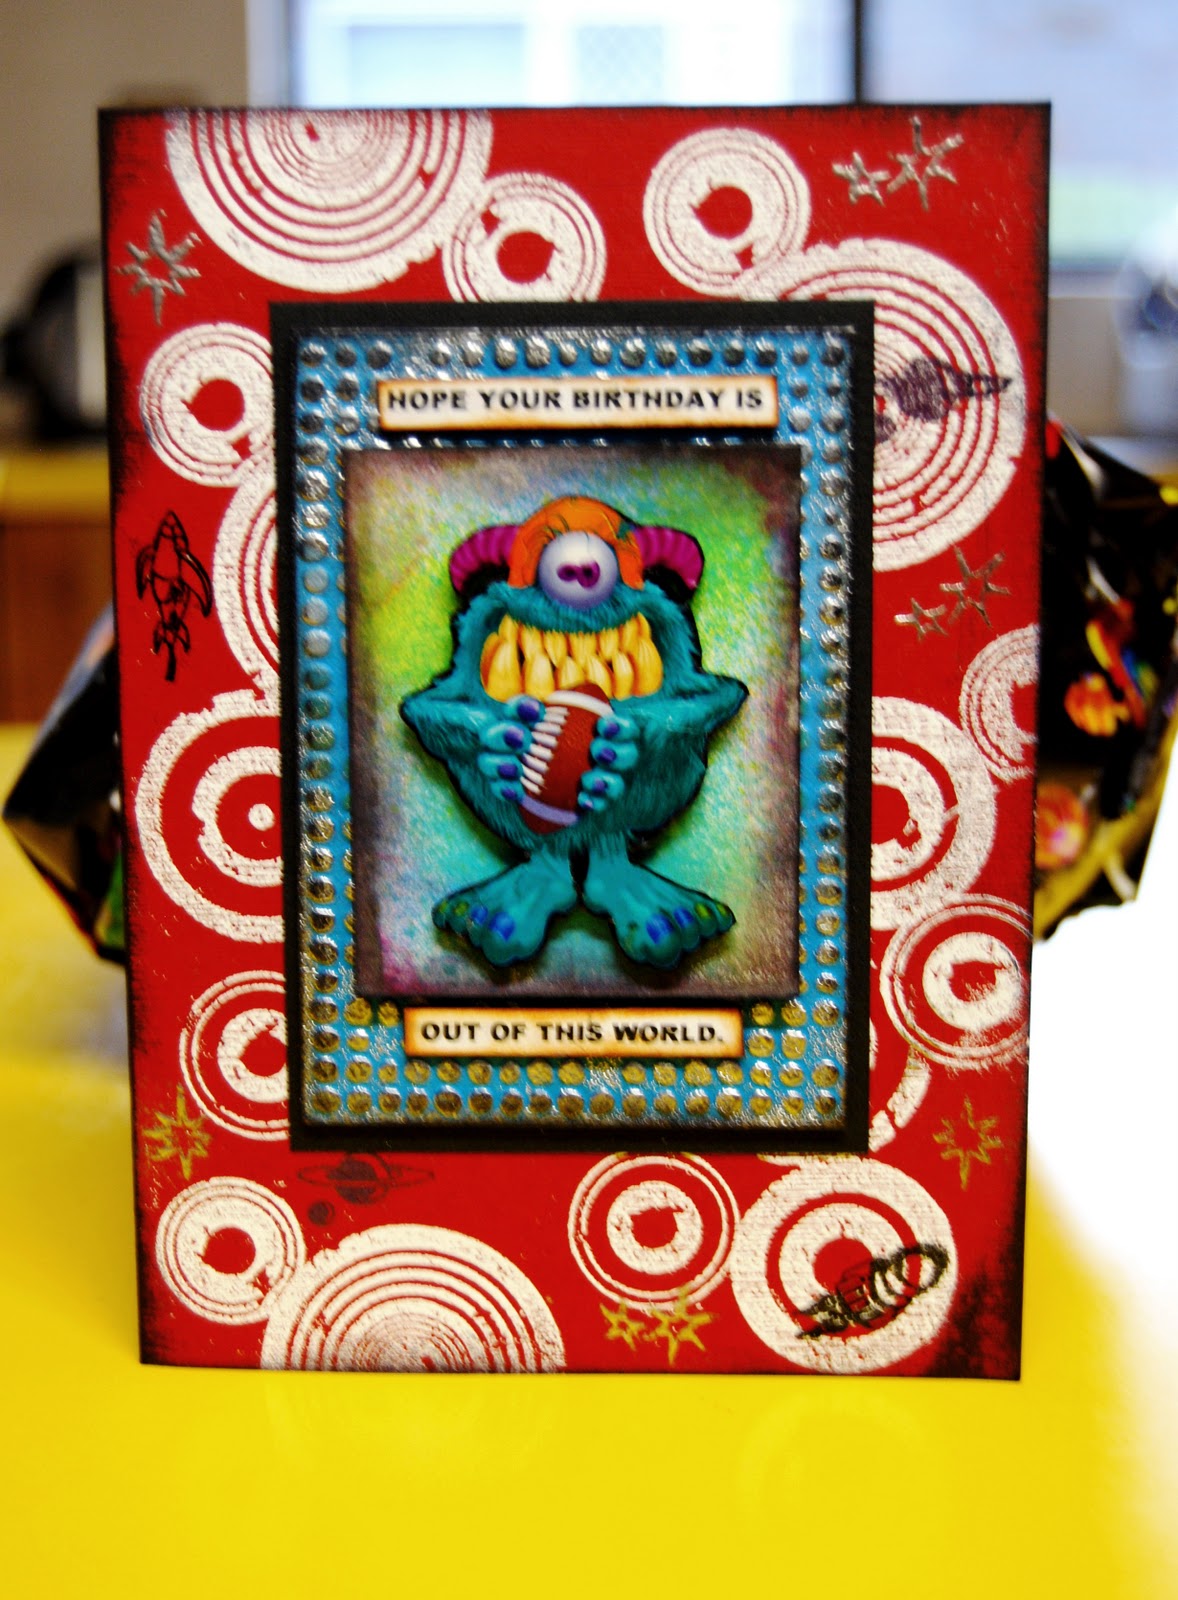
On this Birthday card the embossing folder has been used to give the spotty texture to the blue mat under the matt card the monster is on. I wiped a silver ink roughly over the raised dots then worked in abit of black to give it a grungy checkerplate? "may have fallen of a space ship" look! LOL The monster was a total gift ...he was cut straight out of the wrapping paper and mounted on chipboard, inked around and popped onto the top of the multiple mats with foam double sided tape to give him a bit of WOW. The background was created with embossed Tim Holtz stamps. The end result was busy but what parent doesnt notice you've co-ordinated you card and wrapping paper and what 4 year old doesnt love monsters...right! LOL
Hey,
how cool was this... the present was a football too!!! LOL
:)
3 comments:
OMGosh Marcy these are just STUNNING wih a capital S, you are sucha talen, glad yo u are back blogging again!
good to see you busy, creating and blogging again :)
Wow, awesome project. Love that you obviously experiment with things. Will be visiting your blog lots I think. Have joined as a follower.
www.scrapdiva-tina.blogspot.com
Post a Comment